3 Technology Hacks to Automate Your ToDo List
I love technology. I know, shocking.
I love testing out new technology and finding shiny, new objects to obsess over — but they only become life-long love affairs if they show me what they’ve got and save me time, energy, chocolate…whatever. (Is there a technology out there that will save me chocolate? If so, I want to know about it.)
One “genre” of tech tools I particular enjoy is the one that connects the dots. From Zapier to IFTTT, this genre of technology makes things work together, automates things and makes me seem a LOT smarter than I truly am. This post is about just 5 ways I make connections between technologies to those tools so I don’t have to pay such close attention to the details and can, instead, write about them. 🙂
1. Automating Emails into To Do Items
Technology Used: Evernote and GMail (or other email program)
Email still is the primary way I communicate with the world —and that means that many of my actionable to dos come via email form. Whether it’s for the day job, my writing work or just keeping my shopping list in order, if I leave it in my email, chances that I’ll forget about it are… well, let’s just say really, really good.
I use Evernote as the trapper keeper for my projects. My to-do lists, my follow ups, my research, and my notes on specific tasks. It’s all there. But because email, especially for work, is where many of my to-do items come from, getting those emails into my To-do lists without me having to retype it is a must.
Evernote comes with a handy ability to email notes to yourself. But to make this work like a To Do list, it took a little setting up my Evernote how I wanted it to work. Your Evernote account gives you a dedicated email you can email directly to. Then I can easily mark items in there as reminders. If needed, I can set a date or move that email into another project notebook as a To Do item.
You can direct it right to a tag or a notebook by using symbols:
- To send to a notebook: Choose a destination notebook by adding the “@” symbol followed by the name of an existing notebook to your subject line.
- To add to a tag: include “#” in your subject line
Here’s an example:
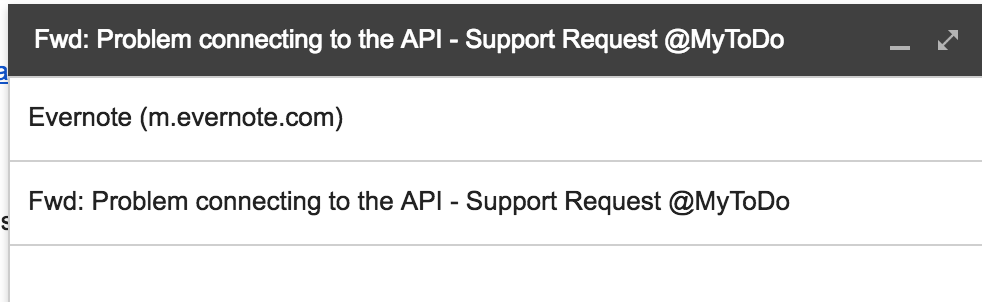
But for me, this takes work.
I have to remember the name of my notebooks exactly and gmail requires the step of opening the subject line to change it.
Let’s face it, if getting these out of my gmail over to Evernote requires too much thought or effort, it’s less effective – which means over time, I’ll stop using it. I need something in the moment so it becomes a knee jerk reaction and habit. So instead, I send all my emails that require action on my part (or I just want to remember) into an “EmailToDos” notebook.
Here’s the step by step on how to do this: :
- Set up the Evernote email as a contact in my Gmail account. (Need to find your Evernote email? Click here.)
- Set up a “_Emails To Do” notebook in my Evernote account. I put the underscore at the front so it stays to the top of my notebooks list at all times.
- Set Evernote to send by default to this Emails To Do notebook.
- Email any email I want to turn into a To Do to my Evernote email. It will automatically put the email, with all it’s information intact, into my Emails To Do notebook.
- Then, a few times a day, I go into that notebook and click “Add reminder” to the Emails I need to remember to do something with. That way all the reminders show up at the top of the notebook. I check off the reminder as I finish the email and I can either move that note into another notebook or just consider it an archived/done Email To Do.
Here’s an example of how my Notebooks stacks look:
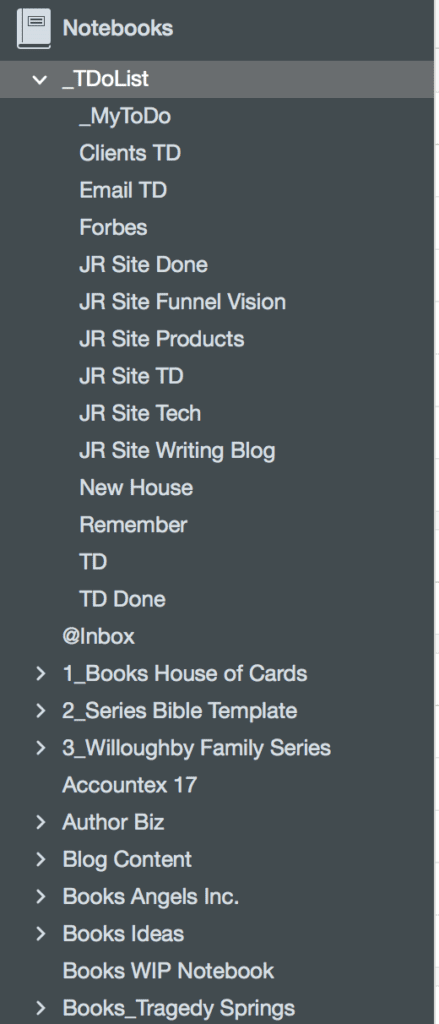
Once the emails are in my EmailToDos, I can easily go in there once a day and drag them into the correct notebook. I can hit the “reminder” button on that note so it pops up at the top as part of my To Do list.
There is more I do with Evernote, but I’ll save that for another day. (Note to self…)
2. Sharing Articles, Links and Funny Videos to Social Media when I’m Away from My Computer
Technology Used: Buffer + Firefox Extension
Social media can take over your life if you let it but even more important is that if you choose to post when it fits your schedule versus when its best marketing to post, you’re losing the power of social.
We’ve all seen the frantic twenty posts from someone, all in a row, because that’s when they’re on Twitter or when they perusing the news feed in Facebook. But what about the other hours of the day when the people you most want to reach and establish a connection are on…and you’re not? What you posted in a mad 5 minute posting dash won’t show up for them.
With a few setup steps in technology, you can post when it fits YOUR schedule, but tailor when that goes out to the best times to hit your audience. If you’re not using Buffer already, you can do a lot with their free account. You can sync up Buffer to one account for each network for free. And from there you can set a publishing schedule for each account. I use Buffer to post industry articles, articles from my company, shares from people I follow.
Because I’m NOT on all day, I usually find these articles and things all in one sitting. I send them to Buffer to push out on a schedule I have already set.
Here’s the checklist of how to do this:
- Get thyself a Buffer account.
- Connect your social networks. Once you’ve done that, set your schedule for each account. These are the times and days of the week you want buffered posts to go out at. (You’re seeing the beauty of this already, aren’t ya?)
- Install the Buffer extension. This adds a Buffer button to your browser to make it really simple to send articles and other things to it.
- This also gives you the ability to buffer retweets and things right from twitter.com.
- Go about your merry way around the net finding articles and things of interest.
- When you find a page you want to share, click the Buffer icon now in your browser bar. Select your social networks of choice, edit the message, and add to buffer.
So let’s say you wanted to share one of my posts. (Go ahead, I won’t stop you…)
Once you’ve signed up and installed the Buffer extension, you’ll see the Buffer logo next to your URL line:

It’s this one:
When you’re on the page you want to share to buffer, click that icon, and a window will pop up that lets you customize, update and select your profiles:
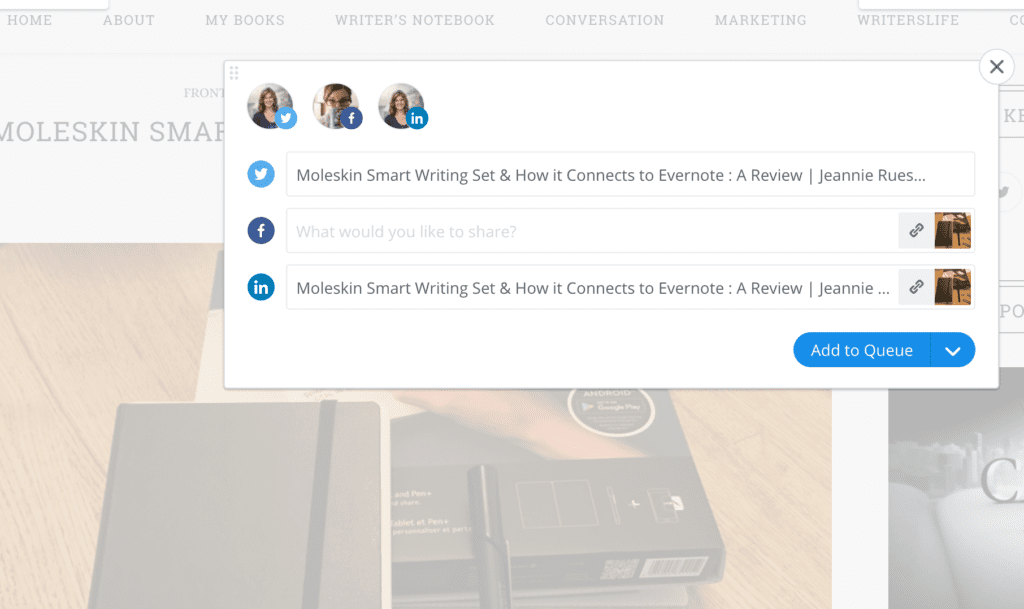
Back to the beautiful. It’s so simple and easy to do, yet it puts the control in your hands about when your content actually pushes out to your audience. You can set your schedule for as light or as frequent as you want. Voila – now you look like you’ve hired a social media guru, or you have no life outside of social media. Take your pick. 🙂
3. Promoting Your Own Content Automatically Weeks, even Months after you posted them using Nelio Content Calendar
You know that blog post you published eight months ago? Yeah, I don’t remember mine either.
Fortunately, I don’t have to. I just added a plugin to my site called Nelio Content. You can see my posts about getting set up here and here. And for just $99 a year, you can get full social content creation for your posts months in advance. If you want to take the next level up, Nelio content will auto-schedule your social media for you.
It’s a way to make your evergreen content, like this 80s Memes post I did for fun for the writers in my audience, work that much harder for you. We spend all this time creating content to share, and then forget that it can and should be shared far more than the first week it’s out. Use this tool to keep your evergreen links working for you.
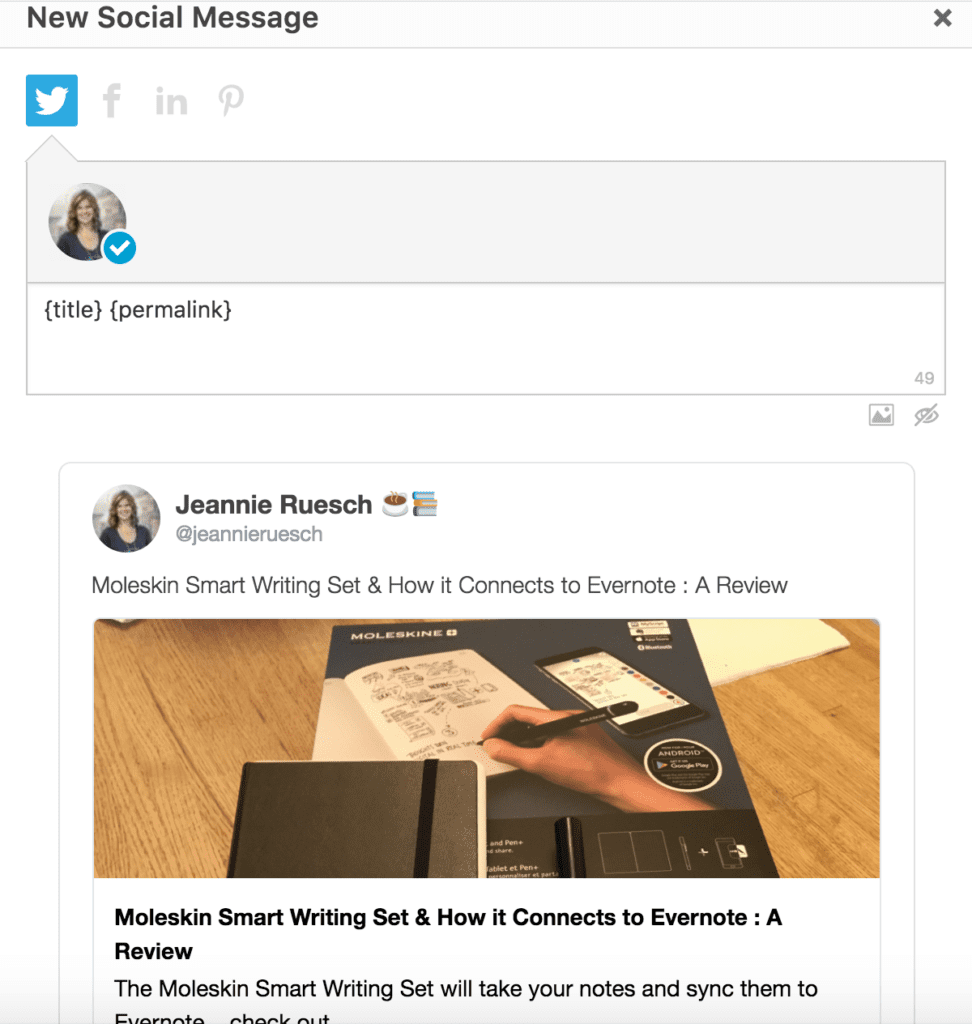
Nelio Content is a wordpress plugin that is really simple. On each post, you have the ability to add social messages (one for the free program and unlimited for the personal plan).
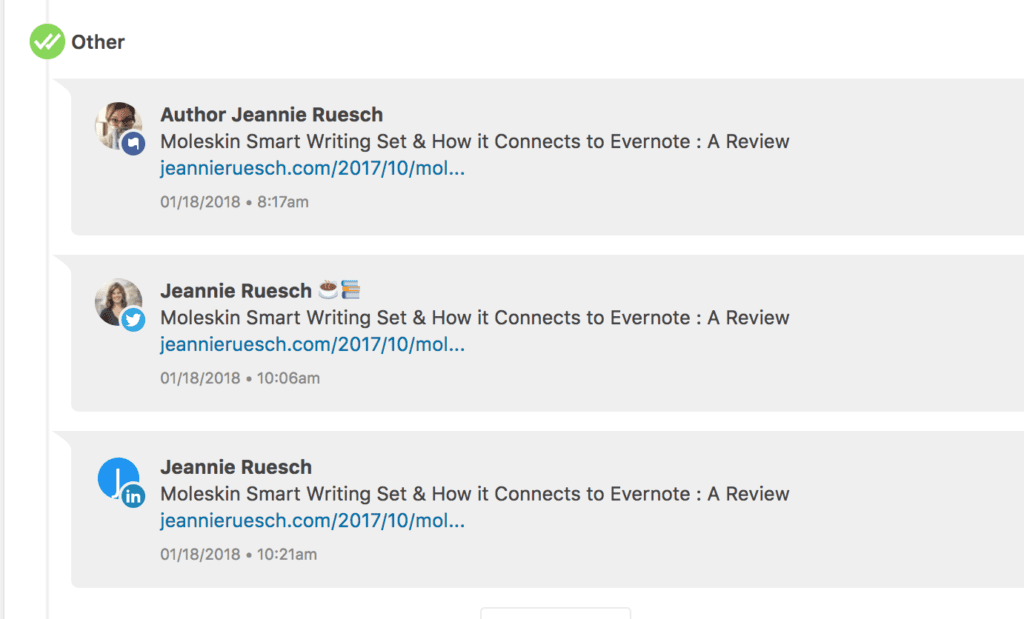
For a recent post I did on the Moleskin Smart Writing Set review, I’ve been able to schedule repeating social media message out into 2018. They look like this in my wordpress post:
With the Nelio personal plan, I can add as many as I want with the simple push of a button:
Evergreen content can and should be shared repeatedly to build your audience. Not every hour of every day, be thoughtful about the schedule you choose. But your audiences will see different posts at different times, so this makes it really easy to add in multiple times right when you’re building the post.
So many ways to automate your day
There are lots of tricks and tips and hacks (whatever your preferred word) to setting up workflows that reduce the manual pieces you have to do yourself. When you add up the time you spend doing some of this every day, every week, every month, how much time you can save to do things you really want to do becomes crystal clear.
Okay, maybe without the creepy finger thing. Hope these tips have helped. Do you have a trick that you use to save time? Share in the comments!

Featured photo by xaviaandrew on pixabay